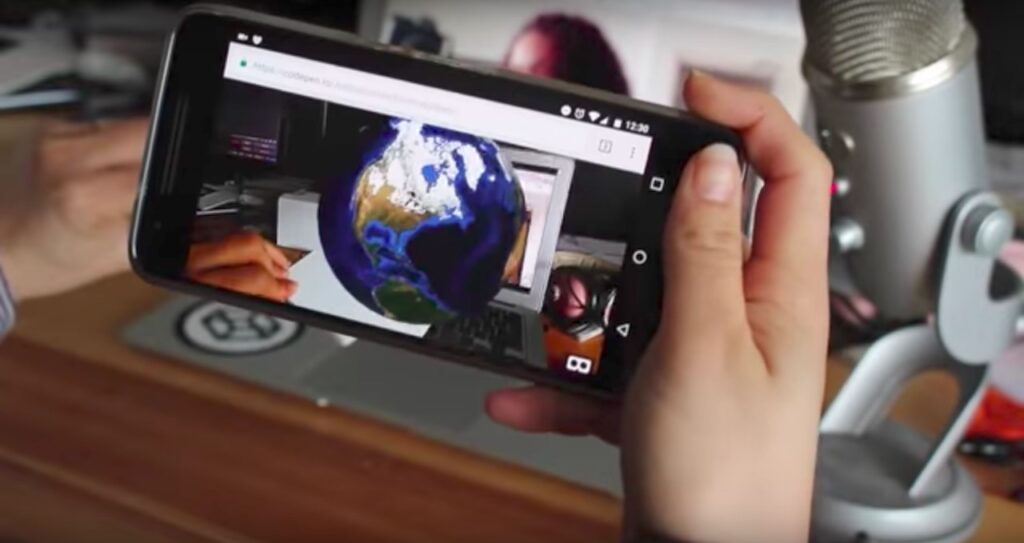
Attention all developers! The realm of web-based augmented reality (AR) is ripe for exploration, and your vehicle for this journey is the revolutionary AR.js. Recognized as a robust open-source library, AR.js empowers developers, like yourself, to craft captivating AR experiences that launch seamlessly within web browsers.
Harnessing The Power of AR.js: A Step-by-Step Guide
We understand that new technologies can be intimidating. Therefore, we have prepared a comprehensive guide that will hold your hand as you create your first AR scene utilizing AR.js. This guide will demystify the world of augmented reality, empowering you to create innovative applications that will set you apart from your competitors.
- Understand the Basics;
- Installation and Set-Up;
- Create Your First AR Scene;
- Troubleshooting Common Issues;
- Optimizing Your AR Scene.
By following these steps, you will have a thorough understanding of how to use AR.js for your AR development projects.
A Free Resource: Your AR Business Companion
Our journey doesn’t end here. Make sure you visit InAugment.com when you wrap up this guide. We have a valuable gift waiting for you — a complimentary eBook. This resource delves further into how AR platforms, such as AR.js, can propel your business to new heights. Learn novel ways to leverage AR to engage your audience, enhance user experience, and ultimately, drive growth for your business.
Introductory Phase: Comprehending AR.js
AR.js is a compact library that works in partnership with A-Frame and three.js. It makes the best utilize of contemporary web technologies like WebRTC and WebGL to bring forth AR experiences across a variety of devices and platforms. For a detailed understanding of AR.js workings, take a tour of their GitHub repository.
Preparatory Stage: Establishing Your Development Medium
To commence your AR.js experiment, you’ll require a source code editor (Visual Studio Code is a good option) and a web server to host your files. You can utilize a local web server like Apache, or a tool akin to Live Server offered by Visual Studio Code.
Startup Phase: Draft Your Project Structure and HTML File
Begin by building a new folder dedicated to your project. Within this folder, create an HTML file (e.g., primary.html). This file will serve as the entrance point for your AR spectacle.
Integration Phase: Incorporating AR.js and A-Frame in Your HTML Source Code
In your HTML script, add the following lines within the section to engage the AR.js and A-Frame libraries:
<script src=”https://aframe.io/releases/1.2.0/aframe.min.js”></script>
<script src=”https://ar-js-org.github.io/AR.js/aframe/build/aframe-ar.js”></script>
Creation Stage: Forming Your AR Spectacle
Within the section of your HTML script, build an A-Frame scene and set it for AR.js:
<a-scene embedded arjs=”sourceType: webcam; trackingMethod: best;”>
  <!-- Your AR content goes here -->
</a-scene>
Stabilization Phase: Install a Marker
AR.js applies markers to anchor AR content in the physical world. Access a predefined marker from the AR.js repository or construct a customized marker using the AR.js Marker Training tool. Print the marker on a piece of paper or exhibit it on a screen.
Content Stage: Infusing Your AR Material
Within the segment, include an element to refer to your marker, and position your AR content inside it. For instance, let’s append a basic 3D box:
<a-marker preset=”hiro”>
  <a-box position=”0 0.5 0″ material=”color: red;”></a-box>
</a-marker>
In this exemplar, we’re utilizing the “hiro” marker from the AR.js repository.
Trail Phase: Examine Your AR Spectacle
Serve your HTML script using your local web server and launch it in a web browser. Aim your device’s camera at the marker, and you should visualize the red box appearing on top of it.
Customization Phase: Personalize Your AR Experience
Explore the abundant possibilities of AR.js by appending more intricate 3D models, animations, and interactivity to your scene. Browse through the AR.js documentation and exampleson GitHub for motivation and assistance.
Deployment Phase: Launch Your AR Spectacle
Once you’re content with your AR spectacle, deploy it to a web server or a platform akin to GitHub Pages, Netlify, or Firebase Hosting. This will introduce your AR experience to a broader audience.
Publicity Stage: Circulate Your AR Spectacle
With your AR spectacle launched, share the URL with your networks. They can now relish your immersive web-based AR experience without the necessity of installing any application or plugin.
Indulge More in AR.js: GitHub Code Exhibits
Lend some deeper insights into AR.js workings with these GitHub code exhibits:
- Fundamental AR.js exemplar with A-Frame;
- Animations and interactivity;
- Personalized markers;
- Loading 3D models.

Conclusion
Embarking on an AR.js journey emboldens developers to the vast array of possibilities within the realm of augmented reality. From establishing a development environment to rendering a captivating AR spectacle, we have witnessed the comprehensive workflow of AR.js. With the power to integrate complex 3D models, unique animations, and engaging interactivity, AR.js elevates the AR experience to new heights. Following a successful deployment, your AR spectacle is no longer confined to your local environment. Now it can be shared and appreciated across the globe, encouraging a novel way of global interaction. Harness the boundless potential of AR.js and step into the future of web-based augmented reality today!


Average Rating